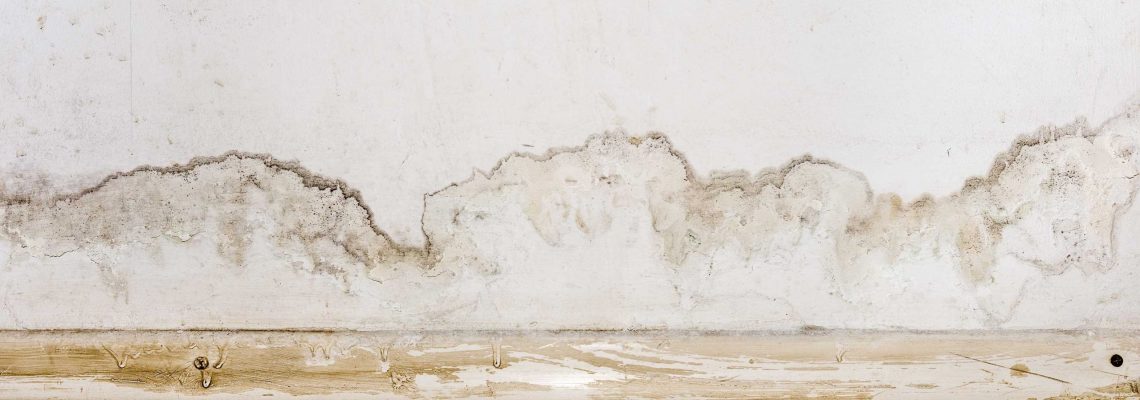
Whenever there is water damage, removing the water and drying the property rapidly is vital. Water restoration helps reduce the damage to the structure of the home as well as materials and content like the drywall, flooring, ceiling, and furniture. The drywall may need to be partially or completely replaced depending on the type of flooding and where the water came in from.
What To Know Before Attempting To Repair Drywall
If the drywall is wet due to flooding overhead, it’s possible the ceiling could collapse and your safety is at risk. So it’s a good idea to have the structural integrity of the property assessed by a water restoration company before tackling the damage.
If the drywall water damage is due to a sewage backup, it’s also a safety issue that involves biohazard cleanup, which is beyond the ability of most homeowners. Instead, this is another job that’s better left to the professionals as they can handle the cleanup and repair safely.
Before fixing any damaged drywall, your first need to locate the source of the water and fix that problem. Then, remove all standing water and make sure the area is completely dry. The longer the water is there, the more damaged the drywall will be.
Preparing The Area
Clear out the area and remove any furniture or building materials that have been soaked by the water. Remove wet carpet and padding or pull them back to allow airflow.
Keep Safety in Mind
Always wear respiratory protection when removing drywall as older types of joint compound may contain asbestos. Any non-affected electrical outlets should be removed before the walls are torn out, but remember to turn off the circuit breakers first. If the outlets are flooded, remove and discard them.
Remove Any Damaged Materials
Determine how much drywall should be cut out. If the water was less than two and a half feet, it’s best to remove to four feet as this helps when installing full sheets of new drywall. If the water level was higher, remove up to eight feet or to the ceiling.
If the water level is unknown, look at the drywall and remove anything that is cracked, sagging, or crumbling. Depending on the extent of the damage, it may be necessary to remove and replace other wall materials like studs, as well.
Cut Out The Damaged Drywall
Using a straight line, cut through the drywall and remove the damaged portion carefully. Once it is removed, remove any insulation, as it is likely wet even if it doesn’t look that way.
Completely Dry The Walls
After removing the drywall, remove the moisture inside of the wall with high-efficiency blowers and dehumidifiers. Leave these running for at least two days.
Sanitize and Deodorize
A chemical sanitizer will help prevent mold and bacterial growth inside the walls. Letting an ozone machine run for at least eight hours can help remove severe odors.
Replace the Drywall
The next step is hanging the new drywall. Measure the area where the new sheet needs to be and use drywall clips secured to the wall with a screw. Insert the new piece and secure it to the clips. Use drywall tape and joint compound to blend and then sand smooth. Once everything is dry, prime and paint the walls.
Repairing or replacing drywall, especially on the ceiling, can be a difficult job. If you ever experience water-damaged drywall, call the professionals at PuroClean Certified Restoration to do the water damage restoration job right.


